
Fontana BIM, Revit & Faucet Specification Resource
A specification-focused reference for architects, plumbing engineers, BIM coordinators, contractors and facility teams working with FontanaShowers® commercial touchless faucets. Use this page to coordinate model numbers, fixture geometry, mounting conditions, deck openings, plumbing connections, control-box locations, sensor clearances and current BIM/Revit documentation before issuing construction documents.
BIM / Revit Files and Digital Coordination Formats
Use the current Fontana BIM library to obtain the available digital object for the selected SKU and project software version.
RFA
Native Revit family format for placement, scheduling, parameter coordination and project modeling.
IFC
Interoperable BIM exchange format for multidisciplinary coordination outside native Revit workflows.
DWG
CAD geometry for plans, elevations, details and conventional architectural or plumbing coordination.
PDF / Cut Sheet
Manufacturer dimensional and installation documentation for submittals, rough-in review and field verification.
Fontana Touchless Faucet BIM / Specification Schedule
Product IDs and coordination data intended for architectural, plumbing and BIM fixture schedules.
| Product ID | Mounting | Published Dimensions | Rough-In / Connection | Coordination |
|---|---|---|---|---|
|
FB085BN Arden MotionPlus™ |
Deck mounted | Available approximately 6.9 in, 9.23 in and larger configuration. |
Deck opening 32–35 mm. Maximum counter thickness: 35 mm. G1/2 inlet / outlet. |
Control box approximately 5 × 4.7 in. Maintain under-basin access for sensor cable, hose and valve servicing. |
|
FS-9539B Bravat Commercial Sensor Faucet |
Deck mounted |
Overall height: 10 in. Spout projection: 6.2 in. Outlet height: 6 in. Body diameter: approximately 2 in. |
Mounting opening: 33–35 mm. G1/2 inlet / outlet. Sensor zone: 16–32 cm adjustable. |
Maximum countertop thickness shown as 35 mm. Control box approximately 5 × 4.7 in. |
|
FS8033CH AquaDynamiCore™ Chrome |
Single-hole deck mounted |
Overall height: 4.61 in. Width: 2.36 in. Spout height: 3.54 in. Spout reach: 5.87 in. Spout length: 7.48 in. |
Coordinate single-hole faucet mounting, hot/cold supply and electrical / sensor components with selected basin. | Stream position should be checked against bowl depth, drain centerline and backsplash. |
|
FS75114BG Bonifacio Brushed Gold |
Single-hole deck mounted |
Overall height: 8.58 in. Width: 2.20 in. Spout reach: 7.20 in. Spout height: 7.68 in. |
One-hole installation. Coordinate hot/cold supply and electrical connector below the lavatory. | Verify the 7.20 in projection against the selected basin before countertop release. |
|
FS10003CP FlowSphere™ Champagne |
Wall mounted | Wall installation geometry to be coordinated from current BIM / approved submittal. |
G1/2 inlet. G1/2 outlet. AC/DC power. |
Coordinate finished-wall depth, outlet projection, basin centerline, sensor field and service access. |
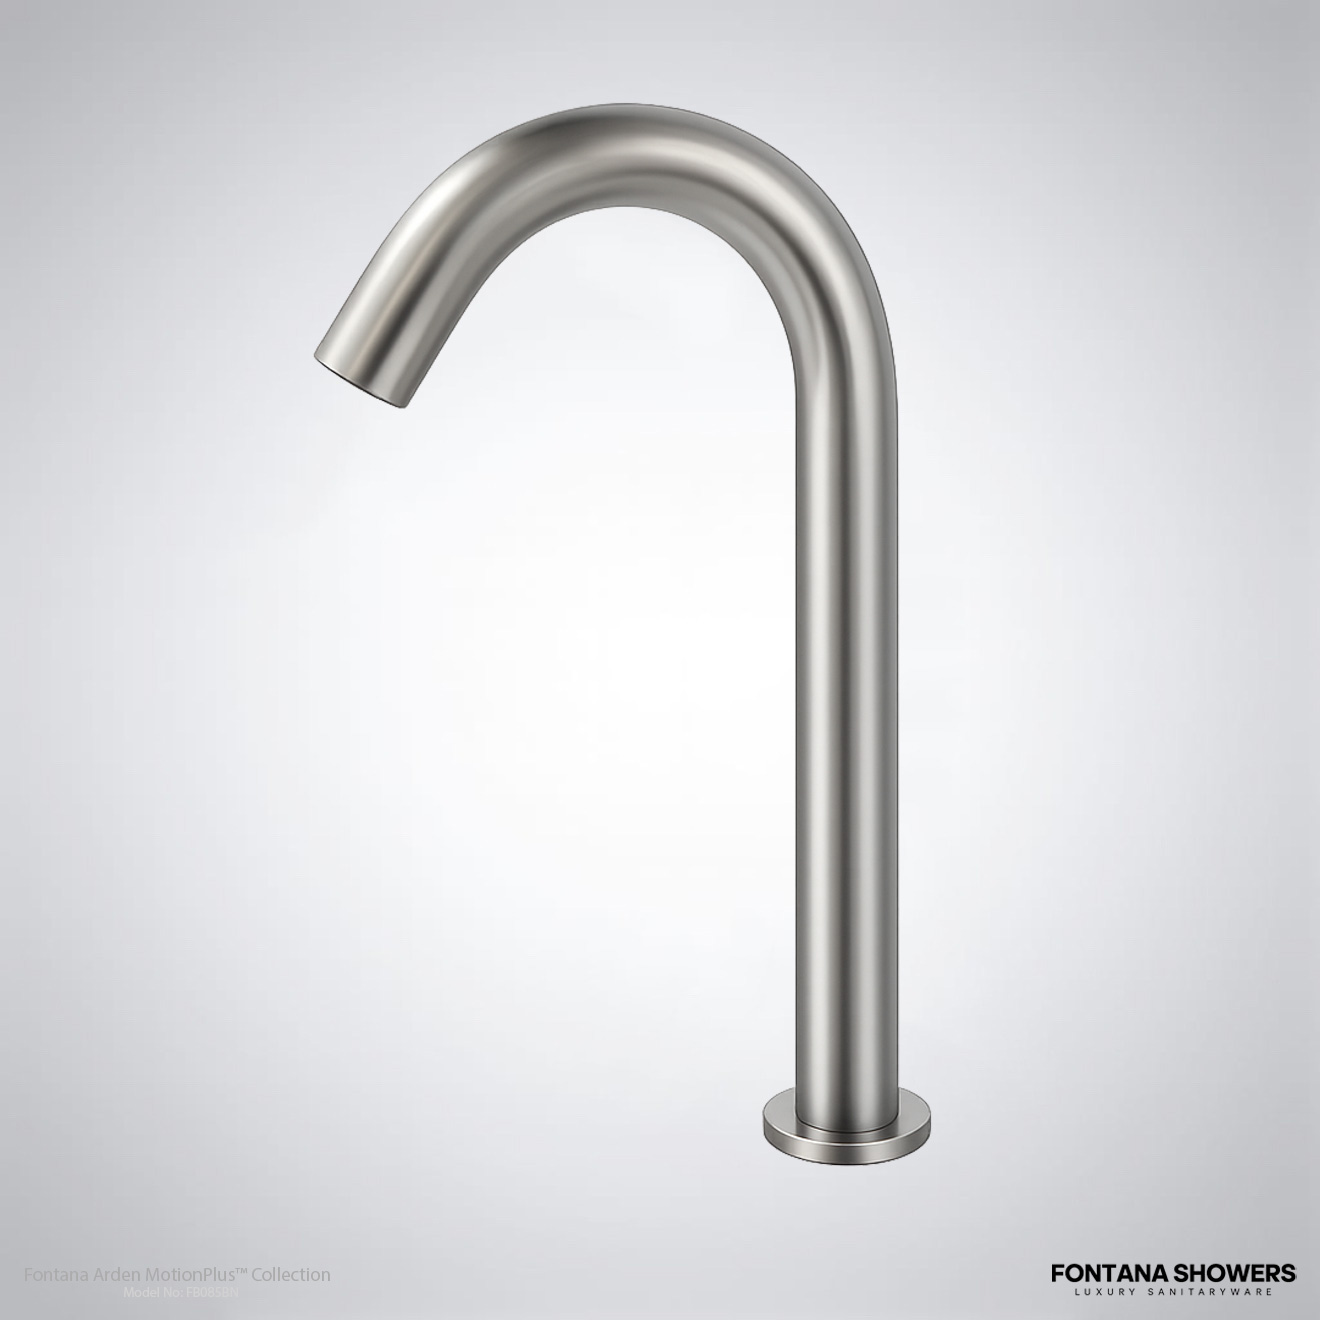
Fontana Arden MotionPlus™ Brushed Nickel Touchless Faucet
Coordinate the threaded faucet shank with countertop construction, undermount basin flange and structural support. The control box, sensor cable, water hose and optional mixing components require accessible space below the lavatory.
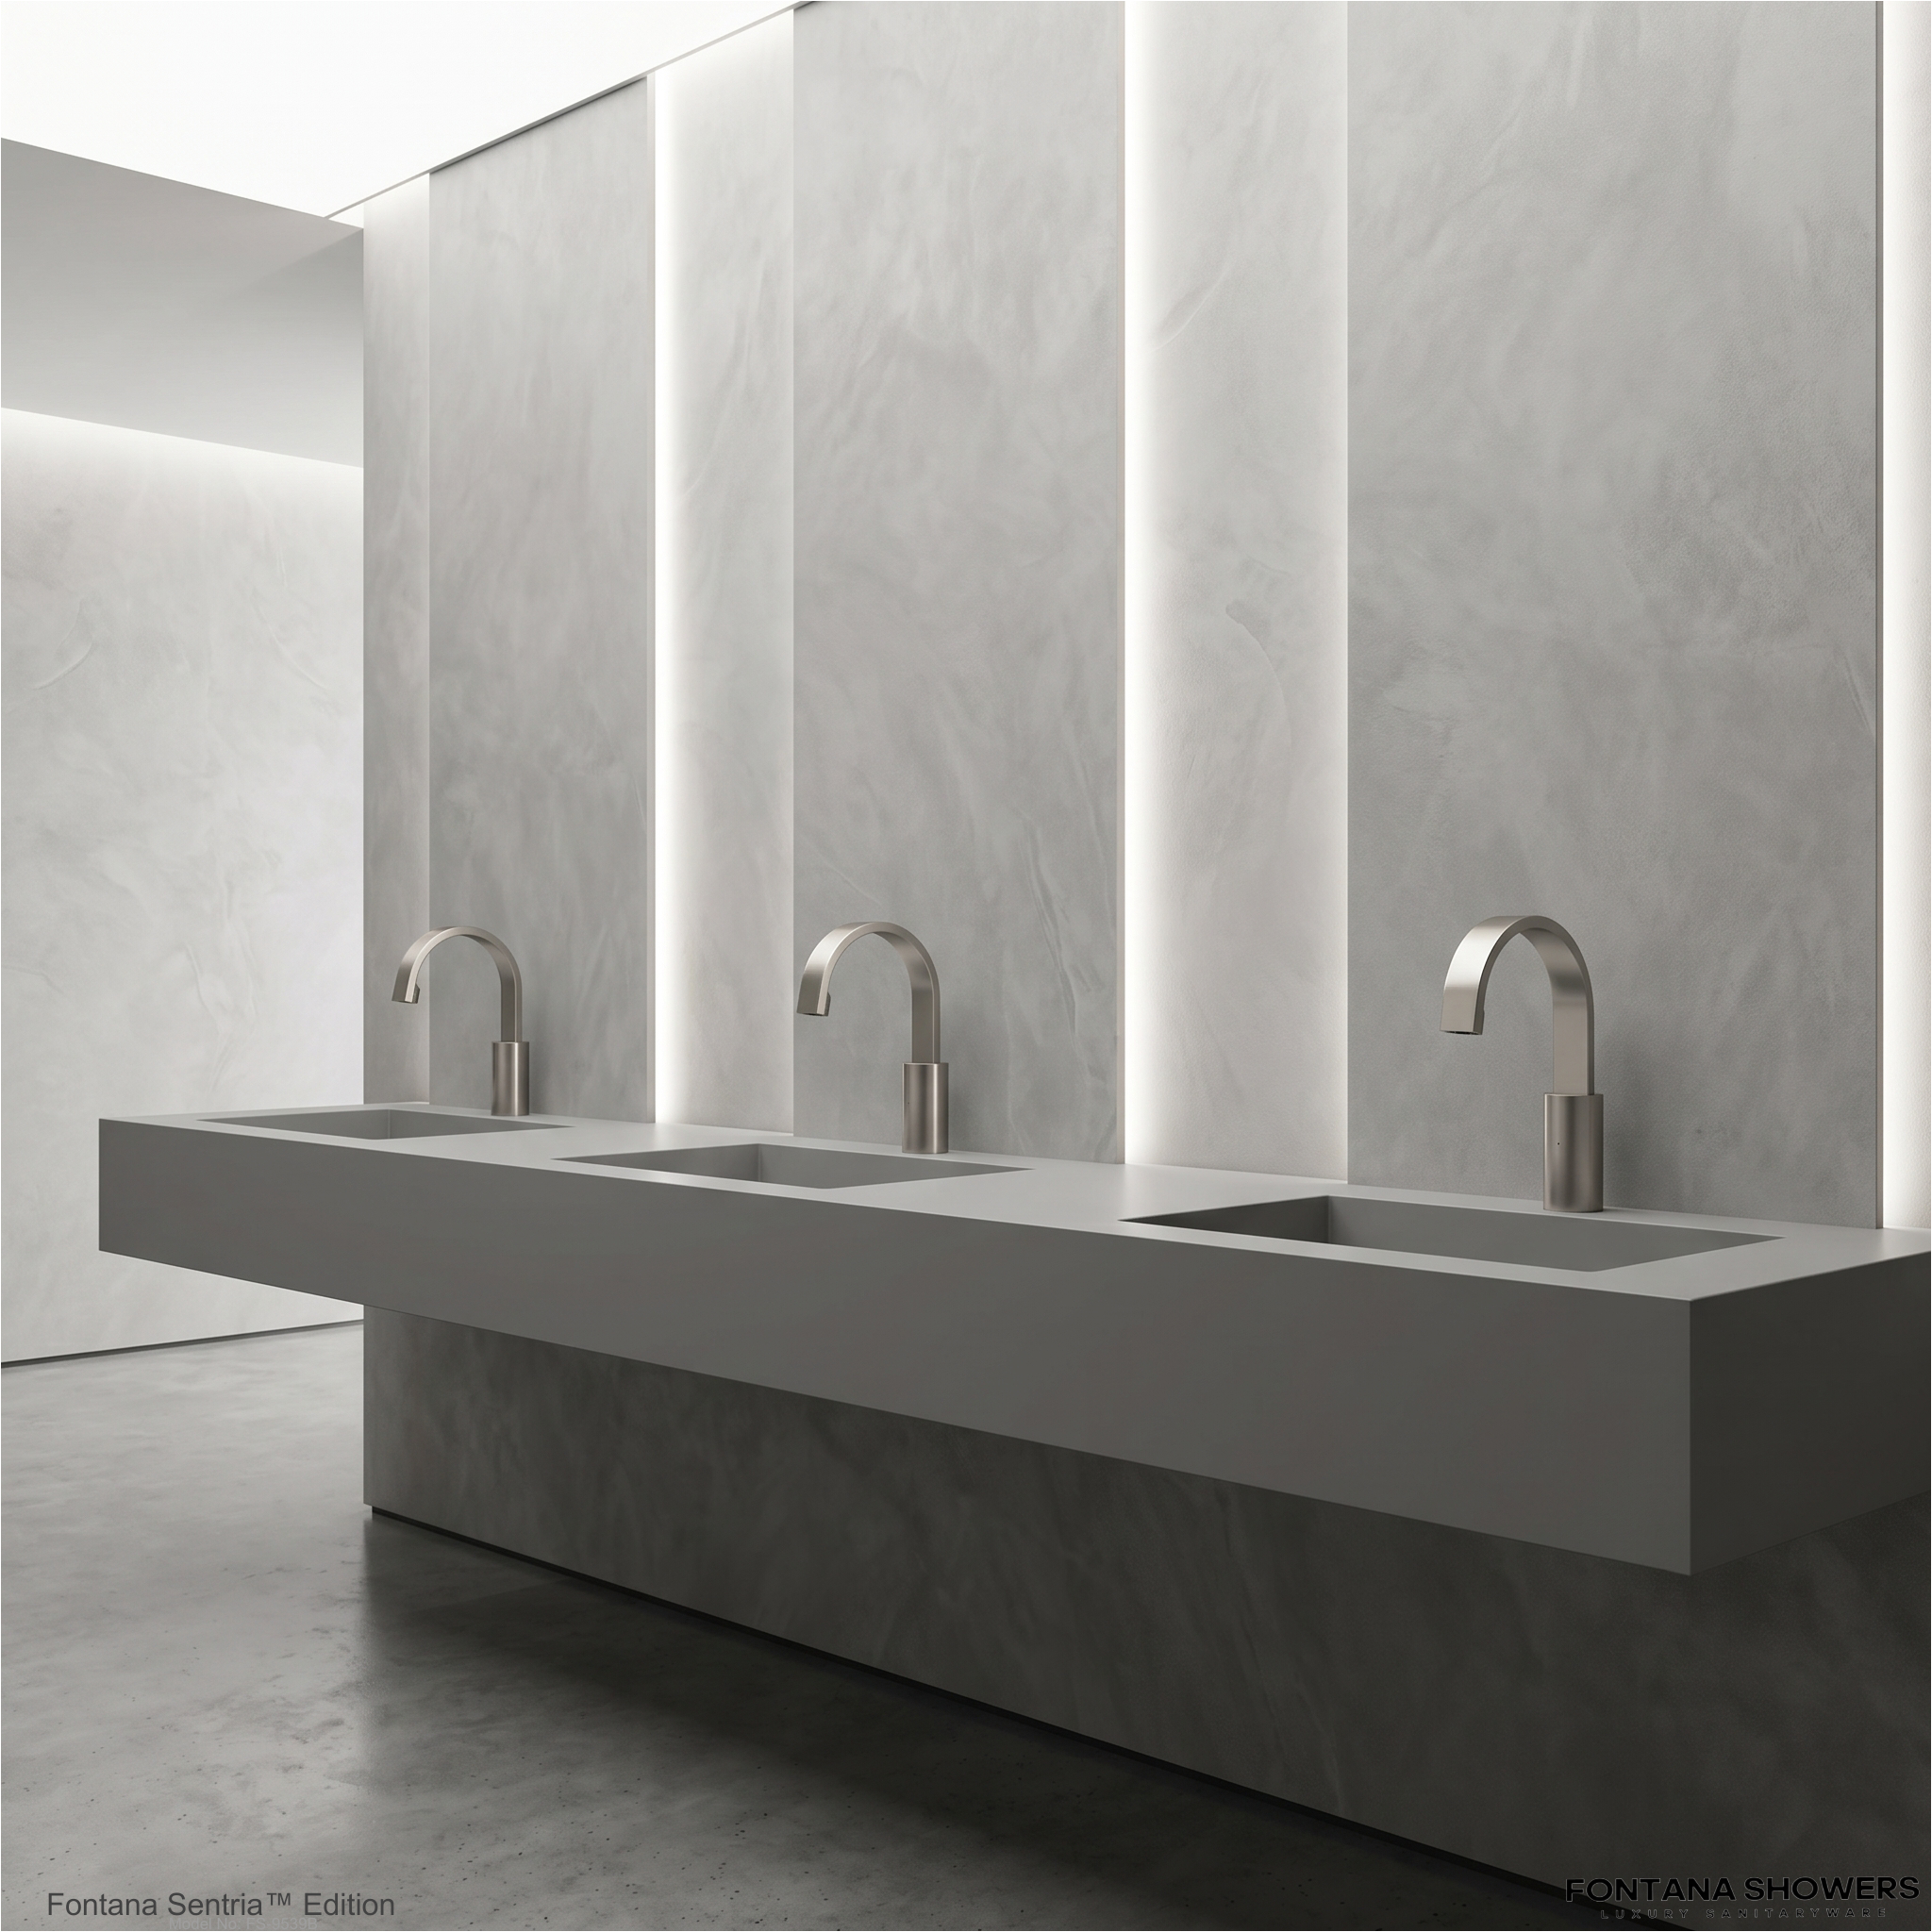
Bravat Brushed Nickel Commercial Sensor Faucet
The installation drawing places the valve/control enclosure below the basin. Keep the enclosure accessible and avoid locating the waste assembly, carrier, trap or structural framing directly in the service zone.

FontanaAquaDynamiCore™ Chrome Touchless Faucet
Use the 5.87-inch reach as the primary basin-coordination dimension. Locate the stream within the usable bowl area and verify that the outlet does not direct water toward the rear wall, overflow slot or shallow portion of the basin.

Fontana Bonifacio Brushed Gold Touchless Faucet
The relatively long 7.20-inch spout projection should be modeled with the actual lavatory before countertop fabrication. Coordinate backsplash distance, bowl front-to-back dimension, drain position and splash containment.
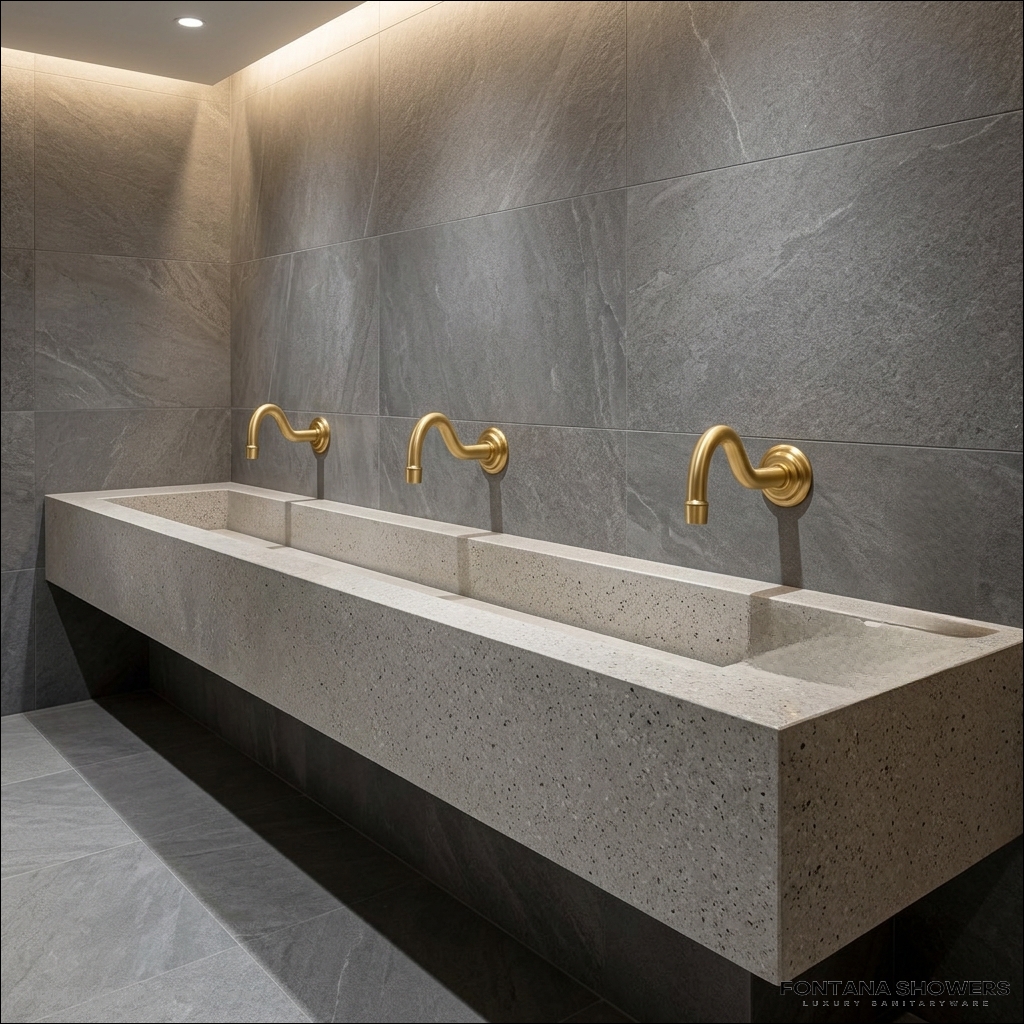
Fontana FlowSphere™ Champagne Wall-Mounted Touchless Faucet
Wall-mounted sensor fixtures require coordination before wall closure. Model the finished-wall plane, faucet centerline, basin rim elevation, spout projection, sensor field and accessible service location as one coordinated assembly.
Rough-In, Mounting and Service Clearance Coordination
Coordinate visible faucet geometry together with the concealed plumbing, sensor and power components before countertops, casework or wall finishes are released.
Deck Opening
Do not assume all touchless faucets use the same drilling diameter. Where the manufacturer publishes a specific opening, transfer that dimension to countertop fabrication documents and shop drawings.
Countertop Thickness
Check stone, solid-surface material, substrate and reinforcement against the usable threaded mounting length. FB085-family and FS-9539B installation information shows a nominal maximum countertop thickness of approximately 35 mm.
Control Box Access
Preserve an accessible under-lavatory location for the solenoid, controller, batteries or transformer connection. Do not conceal serviceable components behind fixed millwork.
Water Connections
Verify connection size before branch piping release. Several Fontana sensor faucet systems shown here use G1/2 connections; the approved project submittal governs final connection details.
Sensor Clearance
Keep the intended detection field free of basin edges, reflective backsplashes and accessories that may interfere with activation. FS-9539B publishes an adjustable 16–32 cm detection zone.
Basin Alignment
Model spout reach against the actual basin. The discharge centerline should fall within the functional bowl area while maintaining adequate separation from the rear wall and rim.
Under-Counter BIM Coordination Zone
Elements that should be modeled or reserved when coordinating a commercial sensor faucet installation.
| Component | BIM / Drawing Requirement | Clearance Consideration |
|---|---|---|
| Faucet Shank | Show deck penetration and required mounting hardware zone. | Keep clear of basin flange, clips and structural framing. |
| Sensor Cable | Provide continuous path from faucet to controller. | Avoid sharp bends and conflicts with drawer hardware or waste. |
| Flexible Water Hose | Coordinate hose path from faucet / valve to supply. | Maintain routing without kinks or trap conflicts. |
| Control / Solenoid Box | Include equipment footprint within the BIM service zone. | Front cover and fasteners must remain accessible. |
| Power | Coordinate AC transformer, hardwire or DC battery option. | Maintain code-compliant electrical separation and access. |
| Mixing Valve | Model where provided or required by project design. | Leave adjustment, isolation and service points accessible. |
| P-Trap / Waste | Coordinate with faucet equipment in section and elevation. | Prevent overlap with controller, sensor cable and supplies. |
Recommended Revit Family and Fixture-Schedule Parameters
Keep the model useful beyond visual representation by carrying the project data needed by architecture, plumbing and facilities.
Read More: BIM Parameter Checklist
| Parameter | Recommended BIM Data |
|---|---|
| Manufacturer | FontanaShowers® / applicable product brand |
| Model | Exact product ID / SKU |
| Description | Commercial touchless lavatory faucet |
| Mounting Type | Deck mounted or wall mounted |
| Spout Reach | Model-specific manufacturer dimension |
| Spout Height | Model-specific manufacturer dimension |
| Connection | G1/2 or model-specific connection |
| Power | AC / DC / battery configuration as selected |
| Flow Rate | Project-selected aerator / rated flow |
| Sensor Range | Published or commissioned detection range |
| Finish | Exact scheduled finish |
| Control Box | Dimensions and service-access zone where applicable |
| Installation Document | Link to current model-specific installation PDF |
| BIM Source | Link to current manufacturer BIM / Revit object |
Specification and Submittal Workflow
Recommended sequence for carrying the selected Fontana fixture from design development through field installation.
| Stage | Required Verification | AEC Output |
|---|---|---|
| Design Development | Select exact SKU, mounting type, finish, basin and power strategy. | Revit family + preliminary fixture schedule. |
| MEP Coordination | Verify supply, mixing, power, solenoid, controller and waste conflicts. | Coordinated plumbing and electrical model. |
| Countertop Release | Confirm faucet-hole diameter, spout centerline and deck thickness. | Approved countertop / millwork shop drawing. |
| Submittal | Confirm model, finish, dimensions, flow, connections and accessories. | Product data + installation guide + BIM reference. |
| Installation | Compare field conditions with the current manufacturer document. | Installed and accessible fixture assembly. |
| Commissioning | Test activation, shutoff, sensor zone, temperature and stream position. | Accepted operational fixture. |
Use the Exact Product ID in Every BIM and Specification Package
Fontana BIM coordination should begin with the exact scheduled model, not a generic faucet object. Carry the product ID through the Revit family, plumbing fixture schedule, specification, countertop shop drawings, submittal package and closeout documentation so dimensions, mounting, connections, finish and service requirements remain aligned.
Before construction release, confirm the current BIM/Revit object, approved manufacturer submittal and model-specific installation instructions for the selected fixture.
